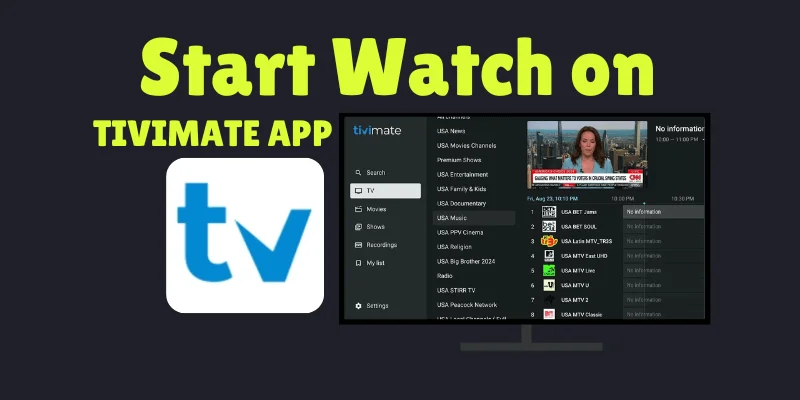
TiviMate is the favourite player for anyone who watches a lot of live TV. The channel grid feels like a proper cable box, and the TV guide is one of the best around.
It runs on Firestick and Android TV. If you already have TiviMate installed, adding Pulse IPTV takes about two minutes.
- TiviMate installed (from the Google Play Store, or via Downloader on Firestick)
- Your Pulse IPTV username, password and server address
Step 1: Add a playlist
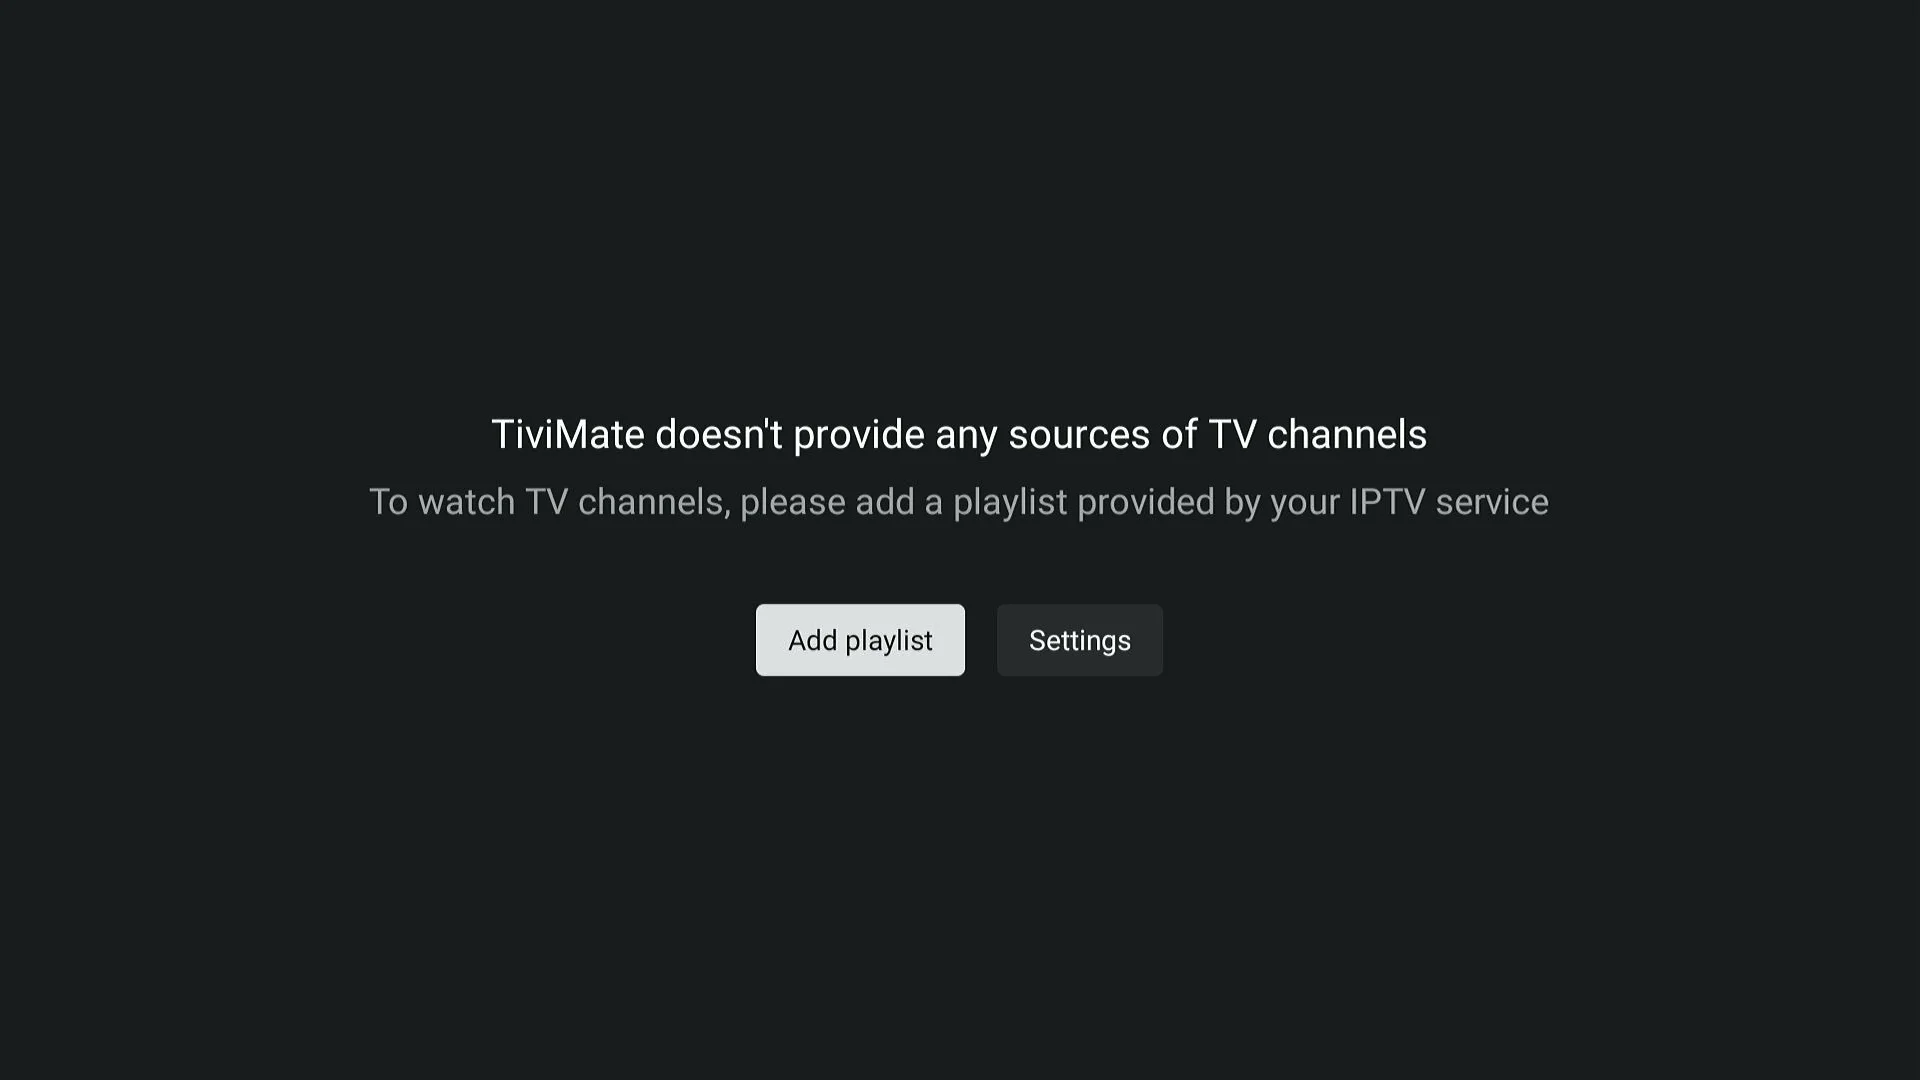
On a fresh install TiviMate has no channels of its own and will ask you for one.
- Open TiviMate.
- Choose Add playlist.
Step 2: Choose Xtream Codes
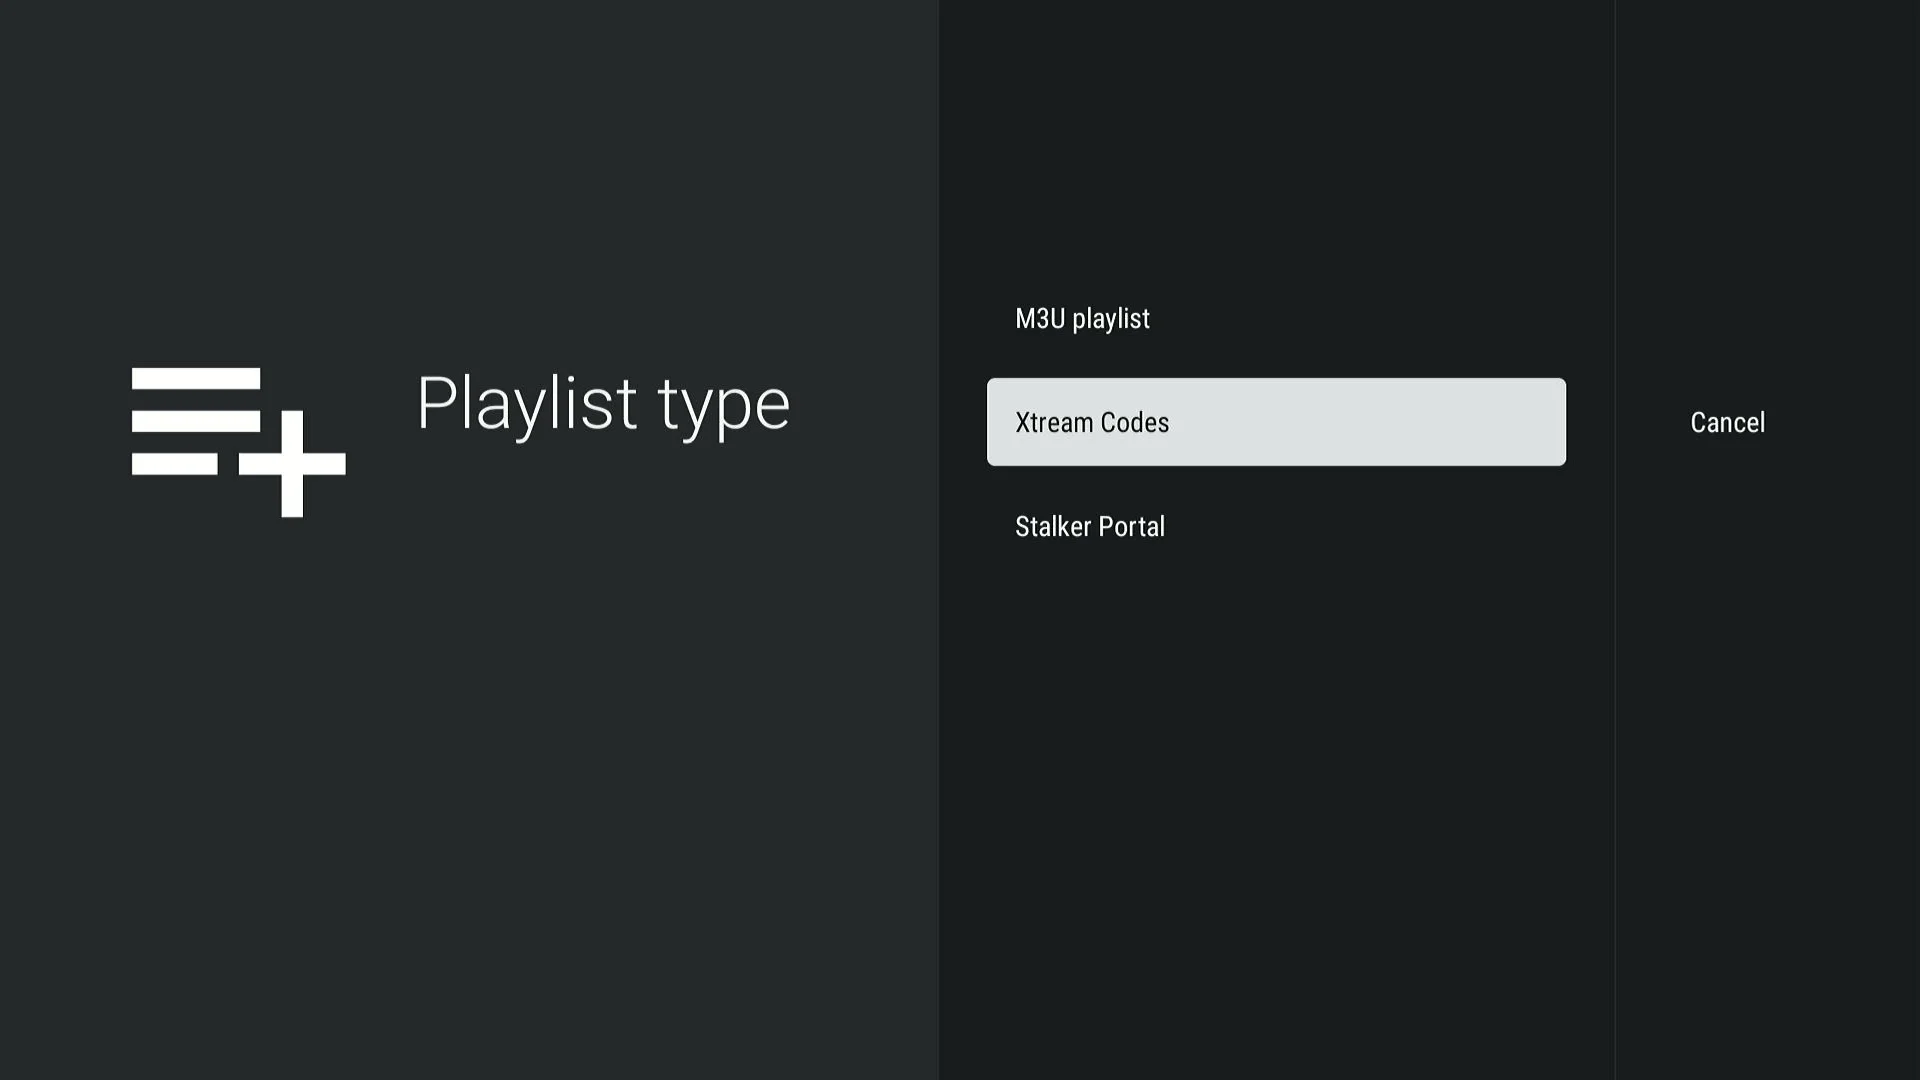
Pick Xtream Codes rather than M3U. It brings in the TV guide and the films and series automatically.
- From the list of playlist types, select Xtream Codes.
Step 3: Enter your Pulse details
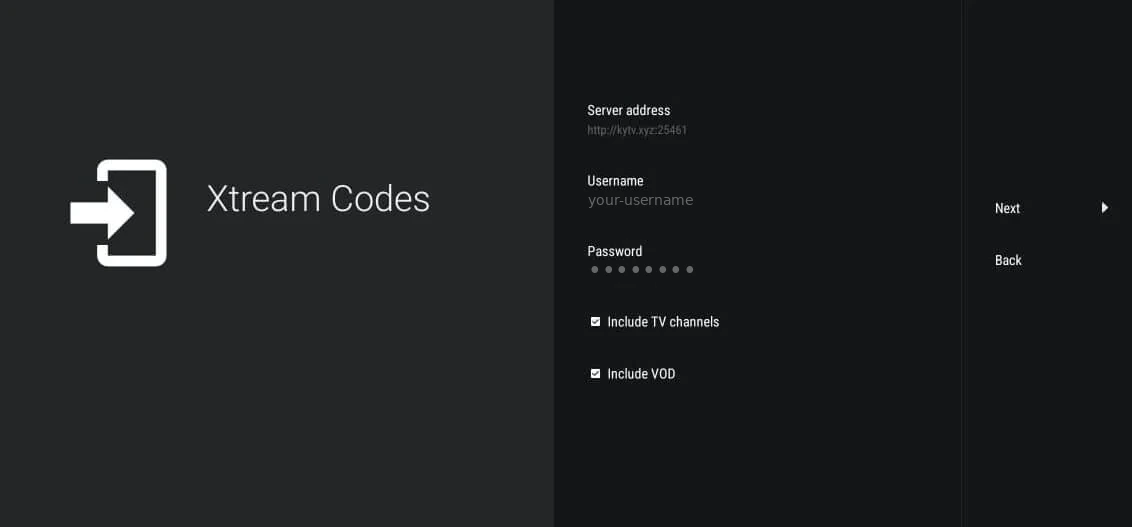
- Server address: from your welcome email, including
http://and the port. - Username and Password: exactly as they appear in the email.
- Leave Include TV channels and Include VOD ticked, then press Next.
Step 4: Let it process
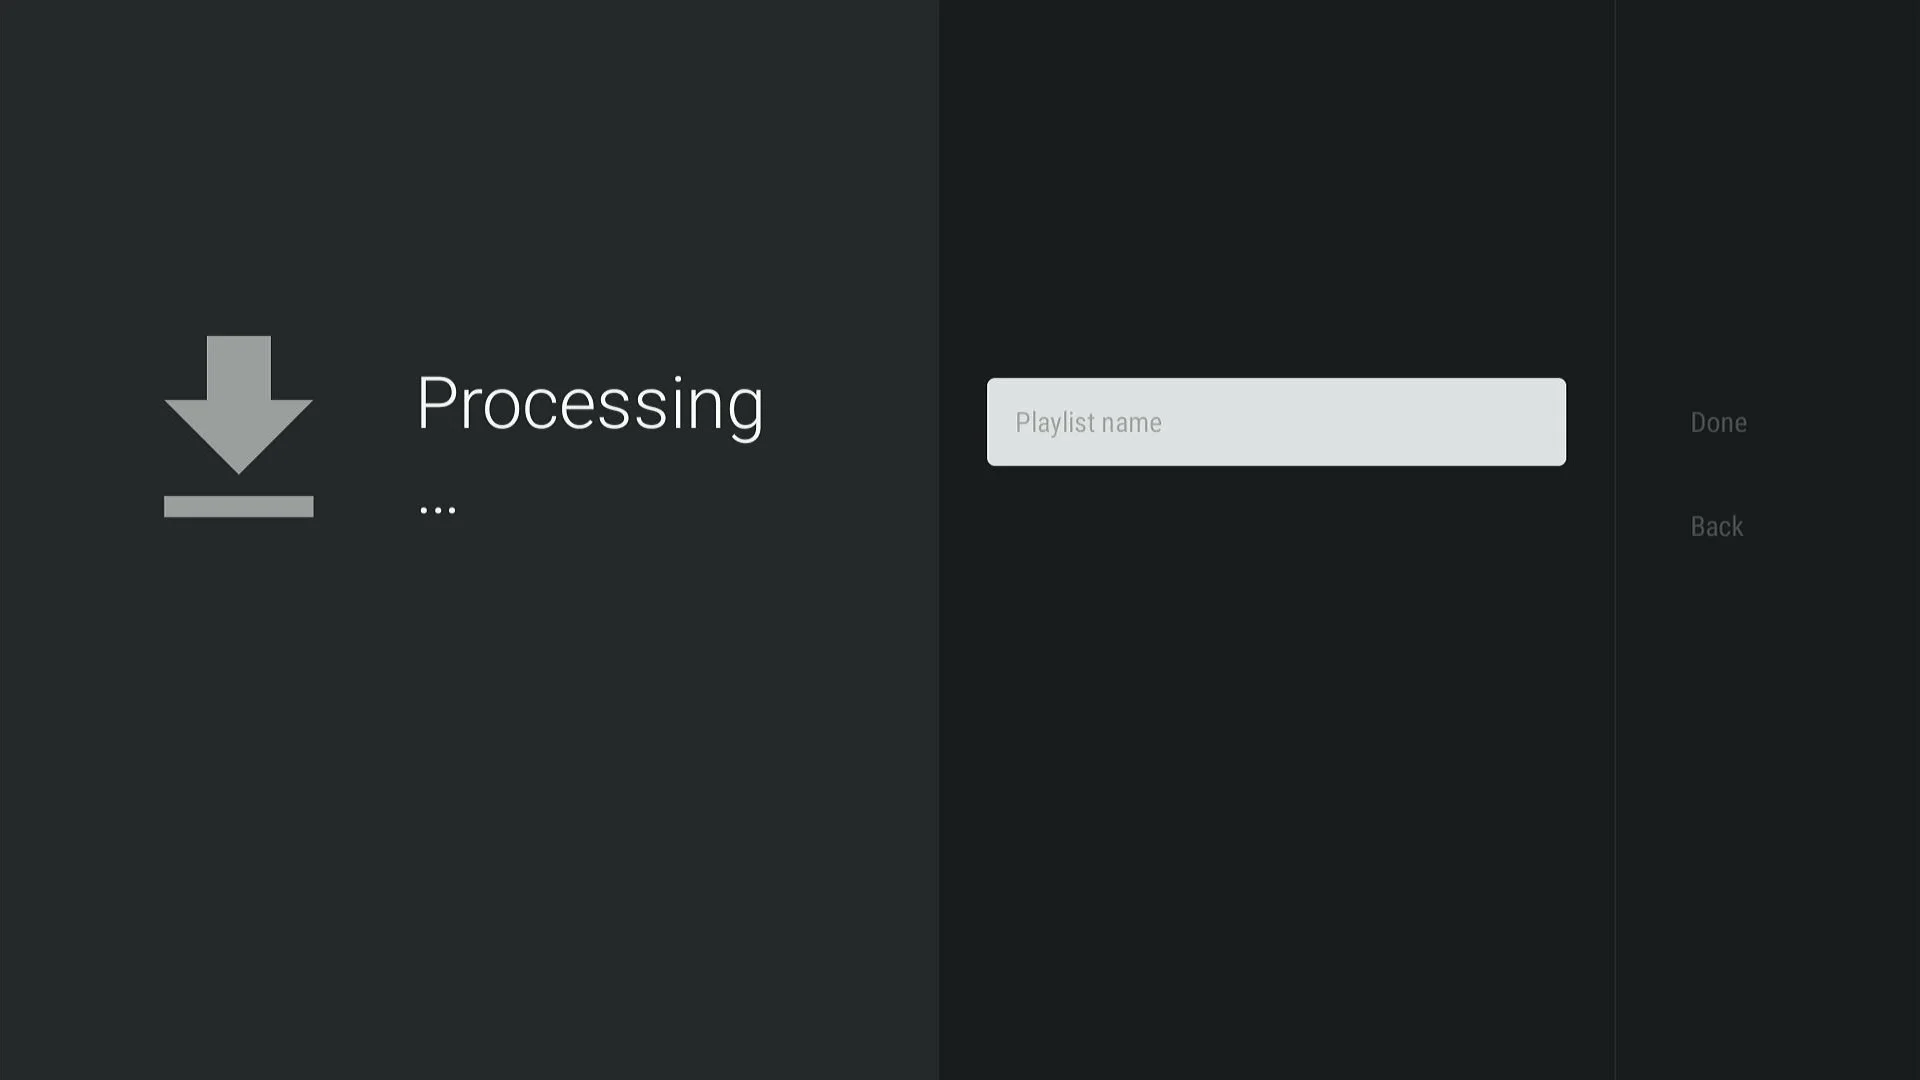
TiviMate reads the whole channel list, then the guide. Leave it alone until it finishes.
- Wait while it shows Processing.
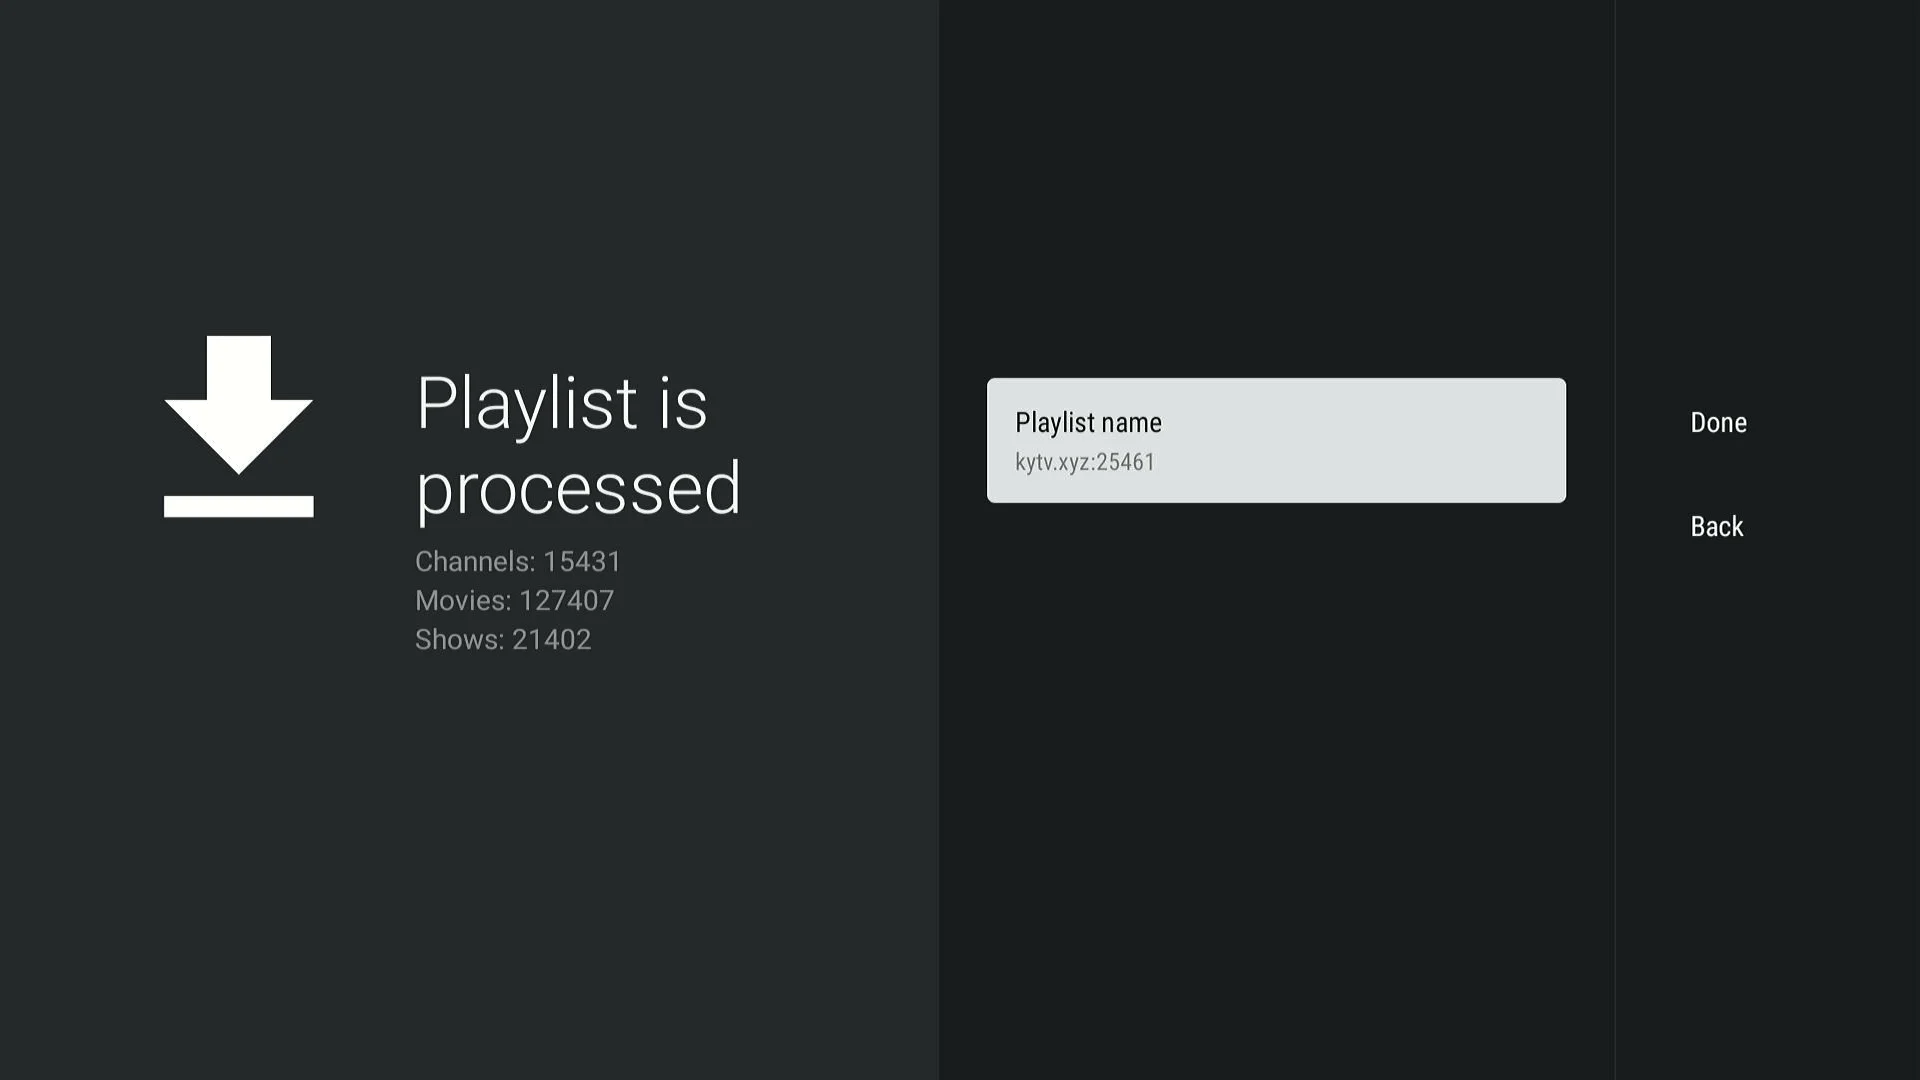
- When it says Playlist is processed, give the playlist a name and press Done.
Step 5: You are ready
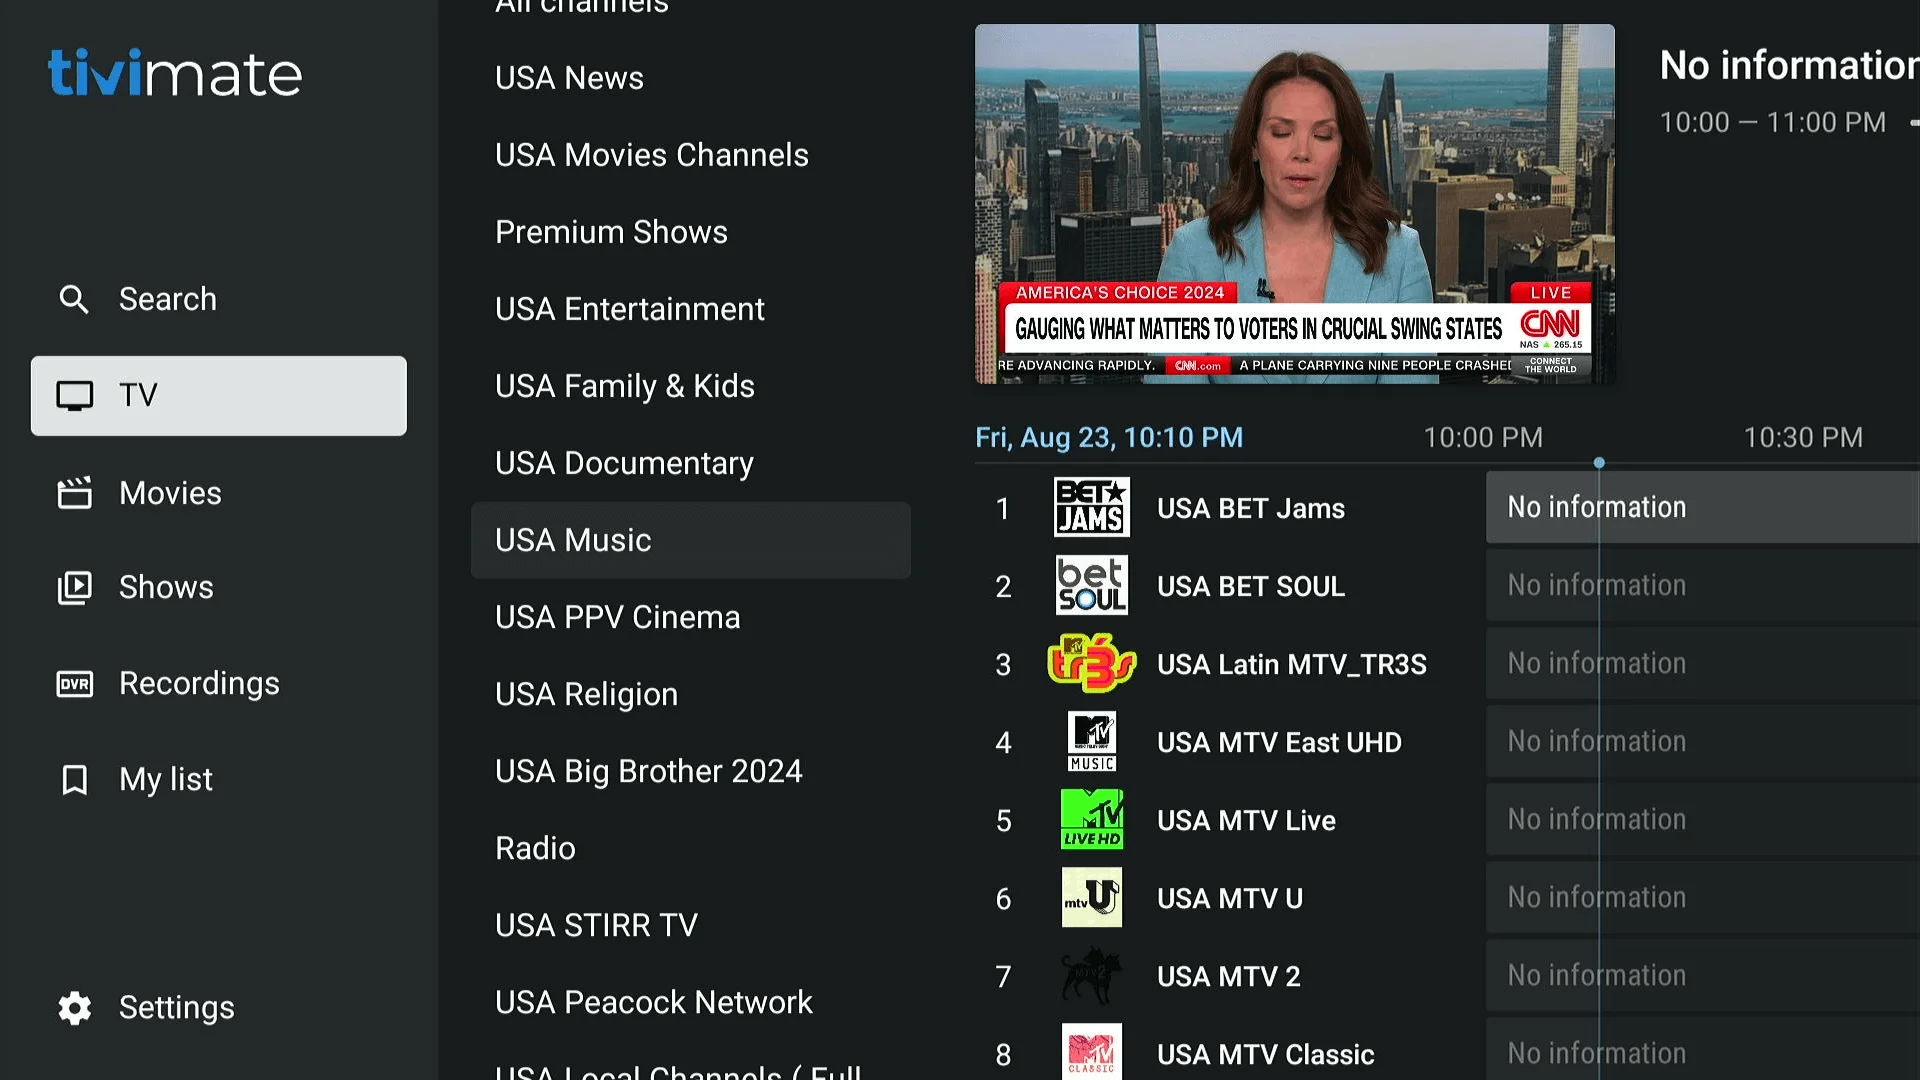
- Your channels appear in the grid, grouped by category, with the programme guide alongside.
If something goes wrong
The guide is empty
Open Settings > EPG and choose Update EPG. The guide can take a few minutes to arrive after the channels.
"Playlist processing failed"
Check the server address includes http:// and the port number, with no space at the end.
Recording is greyed out
Recording, catch-up and multiple playlists need TiviMate Premium, which is sold by TiviMate itself.
Questions
Do I need TiviMate Premium?
No. The free version plays everything. Premium adds recording, catch-up and extra playlists.
Does TiviMate work on Samsung or LG TVs?
No. It is Android only. On a Samsung or LG TV, use our IBO Player guide instead.
Still stuck? Contact our support team and we will walk you through it.
← Back to all setup guides